Want to launch an online store with PrestaShop? It's one of Europe's most popular open-source e-commerce platforms — catalog, cart, payments, shipping, and back office in one system.
This guide covers manual FTP installation on your Battlehorns hosting: download PrestaShop, upload files, create a database, and finish setup in your browser.
Already have FTP set up? See our How to Use FTP with FileZilla tutorial.

Minimum requirements
- PHP 8.1+ (8.2 or 8.3 recommended)
- MySQL 5.7+ or MariaDB 10.2+
- PHP extensions: cURL, GD, Intl, Zip, OpenSSL, Mbstring, DOM
- 512 MB+ PHP memory (1 GB+ recommended for large catalogs)
- ~250 MB disk space (more for images and modules)
- FTP/SFTP access and panel access to create a database
Overview (7 steps)
- Download PrestaShop from prestashop.com
- Create a MySQL database in your panel
- Extract the package on your PC
- Upload files via FTP to
public_html - Open your domain in the browser — installation wizard
- Configure store, language, currency, and admin account
- Delete the
/installfolder for security
Step 1 — Download PrestaShop
- Go to prestashop.com/en/download
- Download the latest version (
.zipfile) - Extract it on your computer
- You'll see files like
index.php,prestashop.zip, and installer files
Note: on recent versions, you upload the full package (including the .zip) — the installer unpacks it on the server during setup.
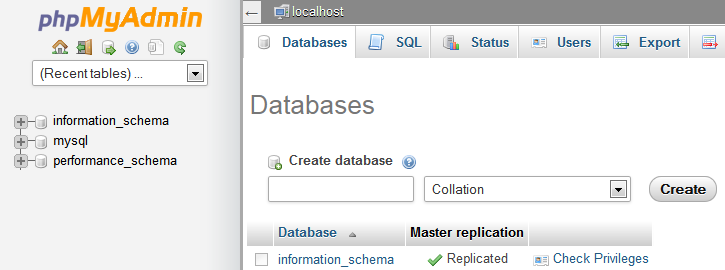
Step 2 — Create the MySQL database
In your Battlehorns hosting panel:
- Create a database (e.g.
shop_ps) - Create a MySQL user with a strong password
- Grant full privileges on that database
- Write down: database name, username, password, host (usually
localhost)
Step 3 — Upload files via FTP
Connect with FileZilla. On the server, open public_html (or www).
.png)

public_html. Image: WordPress Developer HandbookStore at domain root
- Select all files from the extracted folder
- Drag them into
public_html - Wait for the full upload (can take several minutes)
Store in a subfolder (e.g. yourdomain.com/shop)
- Create a
shopfolder inpublic_html - Upload files into that folder
Step 4 — Launch the installation wizard
Open in your browser:
- Root:
https://yourdomain.com - Subfolder:
https://yourdomain.com/shop
.png)
Step 5 — Follow the wizard
License and compatibility
- Accept the license terms
- The installer checks PHP, extensions, and permissions
- If folders fail checks, set
var,cache,img,uploadto writable permissions
.png)
Store information
- Store name
- Main activity
- Country, timezone, and currency
- Store email
- Admin account (email, name, strong password)
.png)
Database
- Server:
localhost - Database name, user, password
- Table prefix:
ps_(default is fine)
.png)
.png)
Step 6 — Mandatory security after install
Critical: delete the /install folder via FTP. Otherwise anyone could reinstall or compromise your store.
- Connect with FileZilla
- Delete the
installfolder - Rename
/adminto a unique name (e.g.admin_x7k2m9)
Step 7 — First store setup
- Log in to back office:
https://yourdomain.com/admin_xxxxx - Confirm shop parameters (name, email, country, currency)
- Create your first test product
- Enable payment and shipping modules
- Choose a theme
- Enable SSL (HTTPS)
- Disable maintenance mode when ready to go live
Common problems
Folder permission errors
Folders var, cache, img, upload need write access. Use 755 for folders, 644 for files.
Database connection error
Double-check host, database name, user, password, and privileges.
Blank page or 500 error
Increase PHP memory_limit (min 256M, ideal 512M) and confirm PHP 8.1+ with required extensions.
PrestaShop hosting on Battlehorns
Your online store needs stable
Comments (0)
Sign in to comment. Register
No comments yet.